Mostrando postagens com marcador blogs. Mostrar todas as postagens
Mostrando postagens com marcador blogs. Mostrar todas as postagens
sábado, 20 de outubro de 2012
Sobre o blog
Tenho pensado muito sobre o blog ultimamente. Minha visão de moda mudou muito de uns tempos para cá. E eu também mudei. Estou conseguindo passar pela área das tendências, do must-have. Finalmente comecei a me libertar dessa mentalidade presa de me vestir para os outros. E pela ocorrência de tantas mudanças minhas, sinto que o blog, que é uma versão de mim, deve mudar também. O problema é que todas essas novas informações, visões e textos inspiracionais causam uma confusão, nunca sei como filtrá-los para a formação de um post. Venho tentando e tentando, devo ser a pessoa com mais rascunhos do universo. Como todo mundo na blogosphera, quero que meu blog tenha um conteúdo diferente, inspirador. Peço que tenham paciência comigo durante esse momento de ''descobrimento''. Realmente estou tentando evoluir.
domingo, 8 de julho de 2012
Vamos polemizar um pouco
Muitos blogs adolescentes hoje em dia não têm sentido nenhum. Apesar de postar inspirações, eu vou ser verdadeira falando que não me vem muita inspiração vendo as fotos. Como diz o ditado faça ou que eu falo não faça o que eu faço. Um post onde a pessoa vem e poe chocolates e um monte de foto de chocolate que mais de primeira página de google images não existe me faz questionar o sentido de postar se é pra fazer algo como aquilo.
Talvez, eu esteja só falando porcaria mas o blogs antes de tudo é um local onde você fala com o seus leitores da mesma maneira que você queria ler em outro blog. É um ''diário'', onde você fala sobre o que gosta ou entende(ou tenta entender), no meu caso moda. Acho que a blogueira tem que ter bom senso, pra que postar um monte de foto de chocolate? Me digam, porque eu realmente acho que tem limites.
Sim, estou sendo contraditória mas esse é um texto de uma menina semi bipolar de 13 anos, o que você queria? Acho que você deve usar uma linguagem normal, Pq Ninguem Gosta De Gente Q Iscreve Assin Né? Mas também não quero que falem como se alguem fosse juiz nem de uma maneira complicada, só normal. Uma coisa que eu gosto é quando a pessoa é ela mesma, muda as palavras para algo mais engraçado como: baphônica, corazón ...
Esse texto ficou muito estranho mas acho consegui expressar algumas coisas que não são tão legais.
sexta-feira, 6 de julho de 2012
B-day do Porta-Estilos
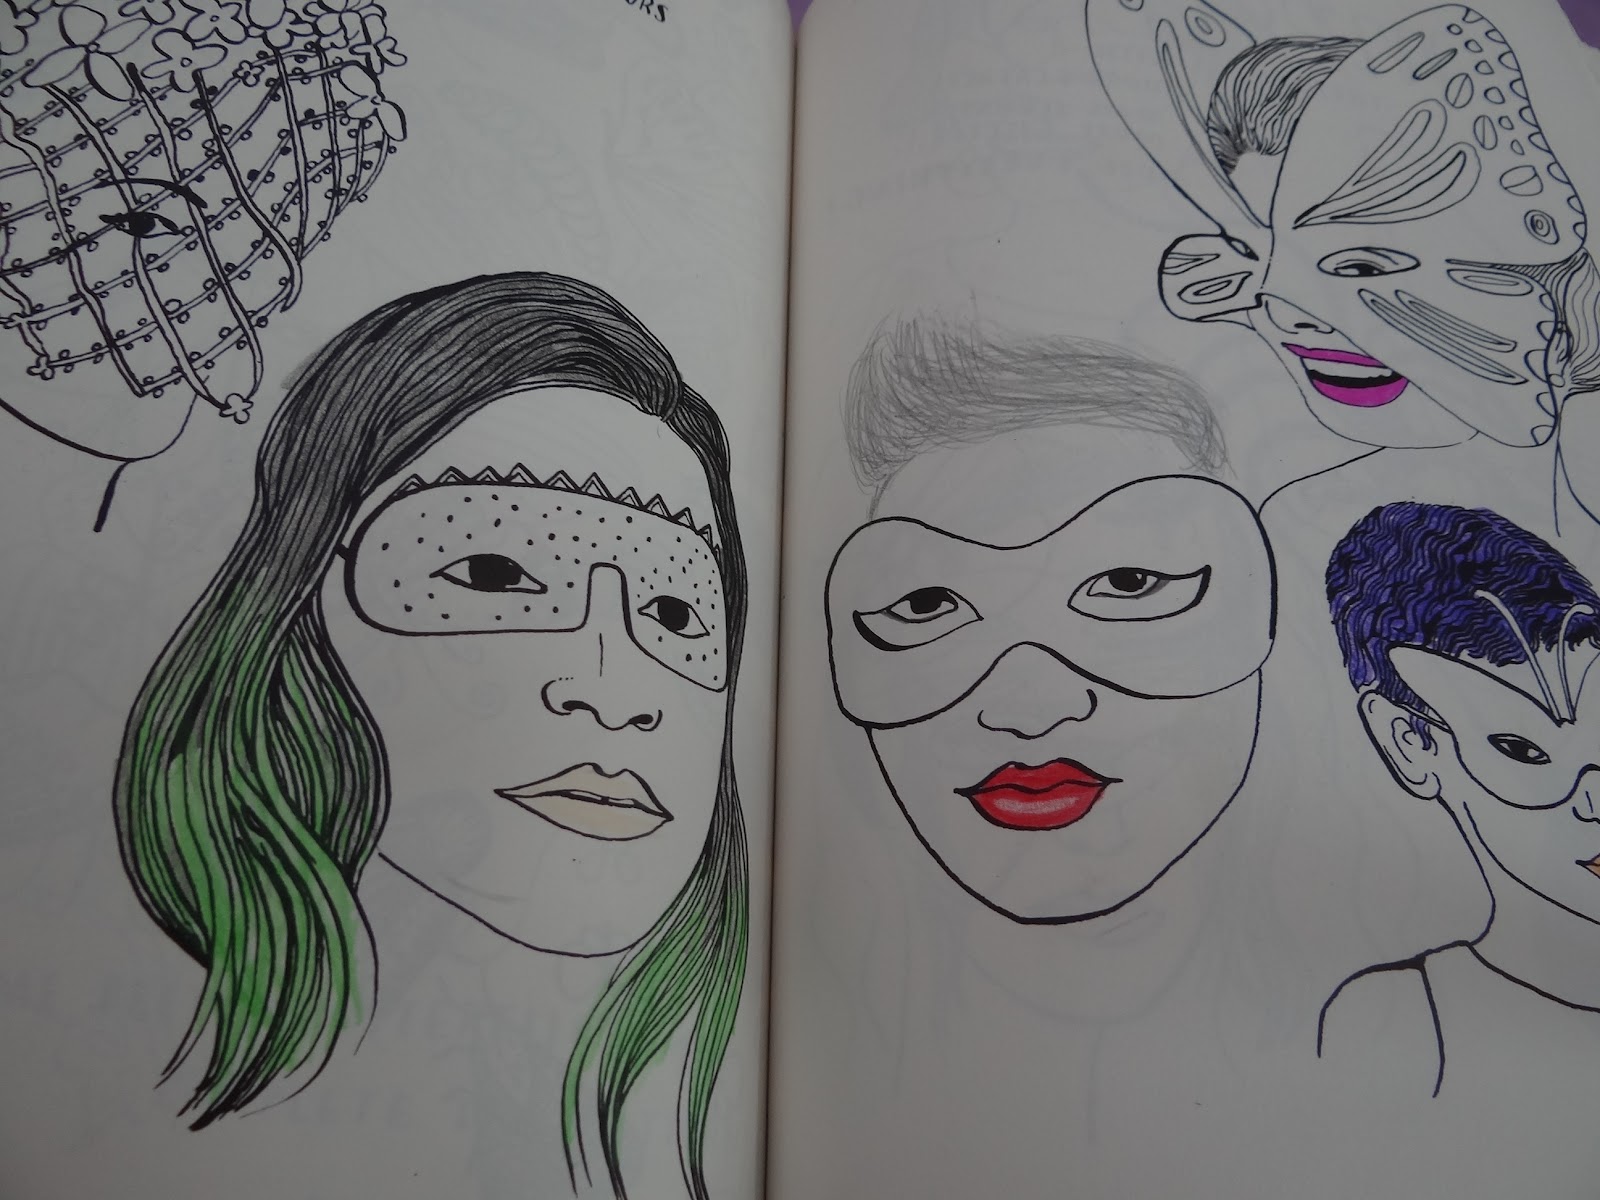
Ontem, a Mari, eu e a Vickie ficamos a tarde inteira comemorando o aniversário do Porta-Estilos!! Comemos bolo de chocolate, conversamos sobre blogs e rimos demais. Também pintamos os nossos livros de moda My Wonderful World of Fashion. Tirei algumas fotos :


 As fotos são bem aleatórias mesmo mas eu gostei bastante delas.


terça-feira, 20 de março de 2012
Dia das blogueiras
Quero parabenizar a todas nós que apesar das dificuldades e obstáculos continuamos com nossos blogs! Feliz dia da blogueira pra você também!

quarta-feira, 7 de março de 2012
Selinho da Chiclete Violeta

Recebi um selinho da Victoria do Chiclete Violeta e tenho que repassar para dois blogs que eu sigo e aprovo. Eu simplesmente ameiiiiii que a Vic(sou íntima tá)me indicou e os blogs que eu indico são:
................................................................tensão........................................................................................suspense..............................................
Porta-Estilos e Chiclete Violeta!!!!
Os blogs delas são muito bons, visitem!
domingo, 5 de fevereiro de 2012
A ruivinha do Lookbook.nu
Ontem, falamos da top Petra Karlsson, hoje a estrela do dia Ebba Zingmark . Sueca, da mesma cidade de Petra, Ebba tem 16 anos e looks de cair o queixo. Seu cabelo ruivo é muito divo(tenho uma queda por ruivos). Seus looks estão em quinto e oitavo(no top 10).

O quinto

O oitavo
O quinto
O oitavo
sábado, 7 de janeiro de 2012
Happy birthday to you, happy birthday to you, happy birthday dear blog, happy birthday to you!

É engraçado ver o quanto a gente muda em 2 anos. Primeiramente eu criei o blog por tédio mesmo durante as férias mas agora ele se tornou algo muito importante para mim. Mesmo ele não tendo tantos followers ou vizualizações todos os que eu tenho são especiais. Vamos parar agora com tanta clichezação e partir para a hora da alegria e diversão porque na nossa festa, não tem bolo!

De presente de aniversário ele vai ganhar um novo nomeeee!!!! #Todaschoradealegria! Durante esse mês ocorrerão alguns posts comemorativos e tal.
segunda-feira, 28 de novembro de 2011
Como elas conseguem?
Eu vejo essas nail arts e fico pensando na extrema abilidade de algumas garotas em pintar as unhas. Eu não consigo nem passar um esmalte normal imagina fazer milhões de desenhos lindos como esses...


OMG


Todas são do Fuck yeah pretty nails!
OMG
Todas são do Fuck yeah pretty nails!
sexta-feira, 25 de novembro de 2011
Ps. I made this
Levanta a mão aí quem ama um DIY(do it yourself/ faça você mesmo)

Eu amo, poi isso só surtei quando descobri o blog Ps. i made this. Tem todo tipo de DIY para decoração de casa, bolsa, blusas tudo, dá só uma olhada:


Muitas fotos né? E olha que selecionei pouquíssimas dentre as milhares de coisas que tem lá, dá uma passadinha,ok!
quinta-feira, 24 de novembro de 2011

quarta-feira, 23 de novembro de 2011
Para Victoria: esmaltes com glitter
Victoria, obrigada pelo comentário lindo e seu blog é muito fofo! Eu nem preciso falar que esmaltes com glitter são mega tendência, eu amo. Eles dão um ar diferente ao look. Antigamente nós achavamos que tudo que vinha de fora era melhor mas de uns tempos pra cá esse conceito mudou completamente, hoje as marcas brasileiras já tem todo tipo de esmaltes.


Se você diferente de mim, não é muito de cores ou então não quer arriscar muito deve usar esmaltes com glitter porque eles dão cor ao visual sem ficar muito arco-íris. Algumas pessoas não gostam muito dele porque alguns esmaltes com glitter ficam em alto relevo, meio asperos na unha, eu não me importo muito mas se esse for o problema é só passar um top coat por cima que fica ótimo.
A única coisa ruim de passar esmalte com glitter é na hora de tirá-lo. Quem nunca passou o algodão 1486786453 vezes até sair todo o glitter da unha. Seus Nossos problemas acabaram, procurando notícias sobre esse esmalte eu achei uma maneira de como fazer essa mágica. No blog Careta Moderninha a Kátia explicou tin tin por tin tin presta atenção:
Você precisa de:
♥ pedaços de algodão
♥ acetona
♥papel alumínio
Passo a Passo
1-Pegue um pedaço de algodão e molhe com acetona(sem piedade)
2- Coloque-o sobre a unha pintada
3-Envolva-os com o papel alumínio(de um tamanho de aproximadamente 7x4 cm) e deixe o agir por uns 2 minutinhos
4- Retire e pronto tá tudo ótimo!
Bem, esse foi o post sobre esmaltes com glitter!! A pedido da Vic.
terça-feira, 6 de setembro de 2011
Marii's post
Gente eu queria falar hoje sobre o blog da minha melhor amiga a Marina. O blog dela é muito legal ela faz muitos sets no polyvore e as unhas dela estão sempre lindas.
O título dela:

O título dela:
Muito divo, não? Então dê uma passada lá, você não vai se arrepender.
segunda-feira, 11 de julho de 2011
OMG
Estava eu, uma réles mortal quando ao sair dos provadores da Dress to avisto ninguém mais ninguém menos que Helô Gomes. A blogueira por trás do Sanduíche de algodão. O blog é muito bem escrito, está na minha blogroll. Os posts são bem interessantes, vale a pena dar uma olhada.


Meu diálogo e interação com ela:
1-(Vejo ela e começo a meio que espioná-la)
2-(Espero ela terminar de falar com a sua amiga e falo)
Luisa: Oi... eu só queria falar que eu adoro o seu blog.
(Ela me dá um abraço)
Hêlo:A que fofa, você é daqui do Rio?
Luisa:Não, sou de Brasília mas benho sempre aqui no Rio.
Hêlo:Ah legal... Qual é o seu nome?
Luisa: Luisa
Hêlo:Brigada Luisa
Luisa: Dinada, tchau.
Lindo diálogo, não?
O look dela estava muito lindo/fashion. Usava calça vermelha, camera profissional no ombro, coturnos lindos, casacos de oncinha e camisa branca por baixo!!!!!!!!!!!
Acabou por ser um ótimo dia =D
sexta-feira, 18 de março de 2011
Blogosfera em geral
Eu recomendo para vocês que visitem os blogs da minha blogroll porque são muito bons só seleciono os que mais gosto pois esses são os que leio todos os dias. Sempre que vejo um novo blog o leio inteiro para ver o passado e as primeiras postagens das pessoas. Se você tiver um blog eu falo dele aqui no Creative e mande seus looks também.
quinta-feira, 3 de fevereiro de 2011
Bom começo de mês
Desculpem pela falta de posts mas minhas aulas voltaram e com isso não vou poder postar sempre.
Mas mudando total de assunto eu queria falar um pouco sobre alguns blogs que eu tava vendo, não é que eu não gosta deles e tao é que eu acho meio fácil você criar looks incríveis comprando coisas todo dia.Concordão ou não ?
Mas mudando total de assunto eu queria falar um pouco sobre alguns blogs que eu tava vendo, não é que eu não gosta deles e tao é que eu acho meio fácil você criar looks incríveis comprando coisas todo dia.Concordão ou não ?
sábado, 13 de novembro de 2010
Tavi please
Estou indignada pois a Tavi, minha e talvez nossa mestra-mor não está postando todo dia, ela posta de três em três dias.Tipo eu preciso de postagens dela todo dia porque são geniais,né?
Assinar:
Comentários (Atom)